VirtualBox快速部署LS-DYNA工作站版本
- VirtualBox 了解 VirtualBox 7.0.8 Oracle
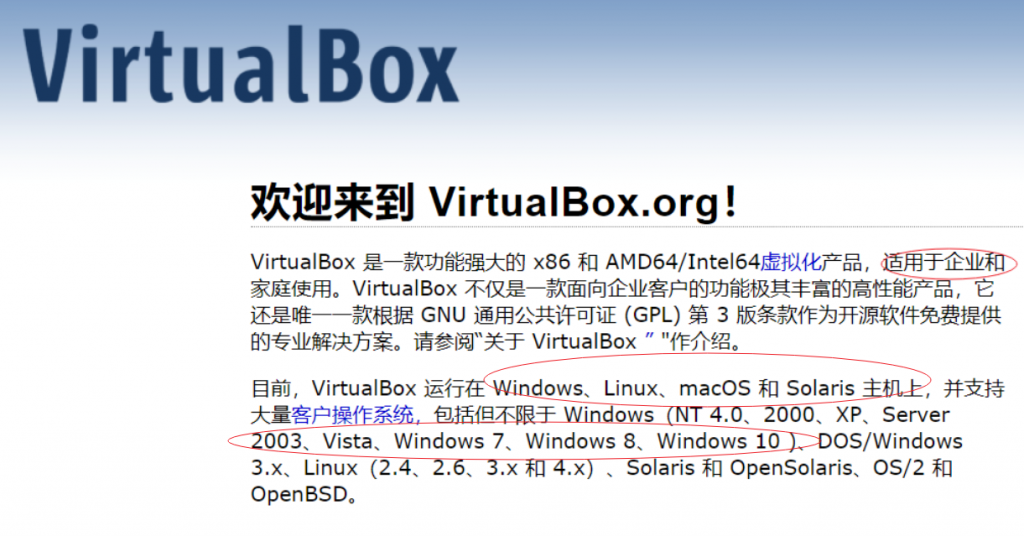
VirtualBox is a powerful x86 and AMD64/Intel64 virtualization product for enterprise as well as home use. Not only is VirtualBox an extremely feature rich, high performance product for enterprise customers, it is also the only professional solution that is freely available as Open Source Software under the terms of the GNU General Public License (GPL) version 3. See “About VirtualBox” for an introduction.
Presently, VirtualBox runs on Windows, Linux, macOS, and Solaris hosts and supports a large number of guest operating systems including but not limited to Windows (NT 4.0, 2000, XP, Server 2003, Vista, Windows 7, Windows 8, Windows 10), DOS/Windows 3.x, Linux (2.4, 2.6, 3.x and 4.x), Solaris and OpenSolaris, OS/2, and OpenBSD.

VirtualBox 7.0.8 下载软件和 VM VirtualBox 扩展包
https://download.virtualbox.org/virtualbox/7.0.8/VirtualBox-7.0.8-156879-Win.exe
VirtualBox 7.0.8 Oracle VM VirtualBox 扩展包
2. 下载 VM 部署包 (
链接:https://pan.baidu.com/s/1tMTLSarDLMQM4El4eFUKkQ?pwd=Arup
提取码:Arup
)
安装部署Linux
http://mirrors.163.com/centos/7.9.2009/isos/x86_64/CentOS-7-x86_64-DVD-2009.iso
具体步骤:
- 准备材料
- 工作站一台 (至强CPU内存32G以上 硬盘空余空间100G以上)
- 虚拟机开源软件 VirtualBox 7.0 (VirtualBox is a powerful x86 and AMD64/Intel64 virtualization product for enterprise as well as home use. )
Windows hosts VirtualBox 7.0.8 Oracle VM VirtualBox Extension Pack
- 已部署好LS-DYNA系统的VM 虚拟机镜像 (CentOS-7-x86_64-DVD-2009) UserName: root Password: Arup@2023
- 安装虚拟机 – DT同事用本地管理员身份帮安装VirtualBox 7.0并导入 VirtualBox 7.0.8 Oracle VM VirtualBox Extension Pack
- 虚拟机镜像复制到本地并导入虚拟机 启动它,然后root登陆 后 查看自动分配本机的IP地址 例如 192.168.56.101
- Linux web 管理地址: http://192.168.56.101:8888/ UserName: admin Password: Arup@2023
- 映射本地Z:盘 宿主机 \\192.168.56.101\data 映射到Z盘 (先创建用户账号跟AD一致,并创建Samba服务器用户账号,然后免密码映射Z盘)

- 提交计算
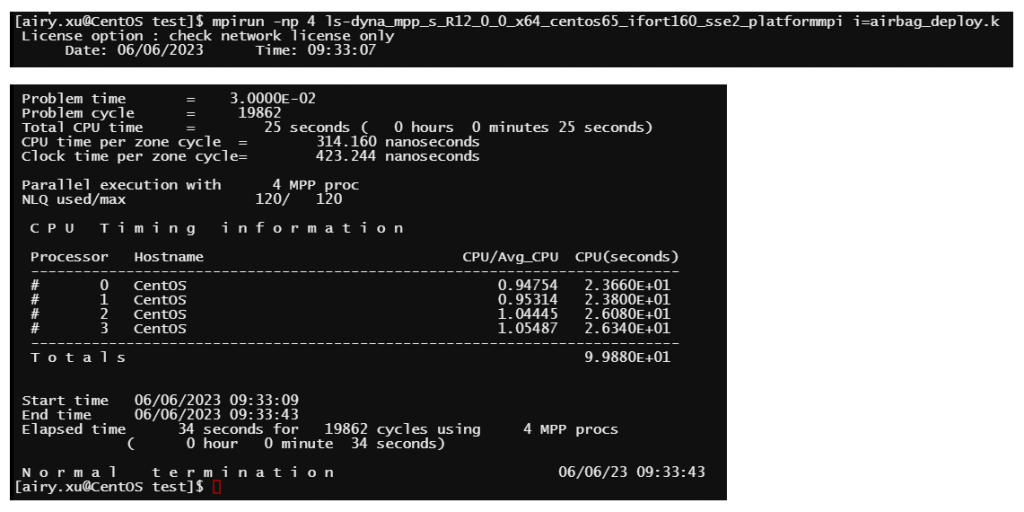
我创建一个算例 Z:\test 复制标准气囊算例airbag_deploy.k 到文件夹下, su 到自己用户下去计算
提交方法web 管理界面 或者 SSH Putty提交都可以。(需要PBS提交系统跟Airy探讨)
[root@CentOS ~]# su airy.xu
[airy.xu@CentOS test]$ cd /home/data/test/
[airy.xu@CentOS test]$ mpirun -np 8 ls-dyna_mpp_s_R12_0_0_x64_centos65_ifort160_sse2_platformmpi i=airbag_deploy.k

超算服务器CPU 志强金牌6254 6248R 8Core 一般4-6秒。参考。
备注:
- 求解器位置: Z:\prg\dyna\ 对应Linux 路径: /home/data/dyna/
- 提交的核心数 ≤ VM的虚拟机CPU核心数 ≤ 宿主机的核心数
- 如果提交的核心数 > VM的虚拟机CPU核心数 系统会特别卡死。
提交之前设定 License服务器 修改/etc/bashrc ,以便每个session 生效,
export LSTC_LICENSE=network
export LSTC_LICENSE_SERVER=服务器IP (不要用机器名,原因不一定能DNS解析)

Windows 下 LS-Run 调用Linux算力计算。
- 管理员安装putty-64bit-0.70-installer.msi 和 LS-Run-1.0.109501-win-x64-installer.exe (建议安装套件 LSTC-WinSuite_R12.1_r120-win-x64-installer.exe)
- 生成私钥和公钥 C:\Program Files\PuTTY\puttygen.exe 保存到
- Linux之间配置SSH互信(SSH免密码登录) 如下步骤。
- 将Windows 生产的公钥复制到Linux的 /root/.ssh/authorized_keys 内保存
- 设置LS-RUN变量等 如图
- LS-Run就可以计算了


Z:\test\airbag_deploy.k
/home/data/prg/dyna/ls-dyna_mpp_s_R12_0_0_x64_centos65_ifort160_sse2_platformmpi
mpirun -np $NCPU “$SOLVER” i=$INPUT memory=$MEMORY
可以查看计算状态和进度和估算ETA完成剩余时间

计算完成 关闭命令行详情 也可以 去掉命令行选项 隐藏执行任务 只看到进度

使用LS_RUN 打开日志mes0000 or mes****和 d3plot 文件

Linux之间配置SSH互信(SSH免密码登录)
1、生成公钥私钥对
[root@client /]#ssh-keygen -t rsa
一路默认回车,系统在/root/.ssh下生成id_rsa、id_rsa.pub
ssh-keygen无回车生成公钥私钥对
ssh-keygen -t rsa -N ” -f id_rsa -q
-t:
-N:是指密码为空;
-f:id_rsa是指保存文件为~/.ssh/id_rsa和~/.ssh/id_rsa.pub
-q:指静默模式, 不输出显示
2、把id_rsa.pub发送到服务端机器上
[root@client /]#ssh-copy-id -i /root/.ssh/id_rsa.pub 192.168.56.101 #server ip
3、验证
[root@client /]#ssh 192.168.56.101 #server ip